In this third installment of the Unifeye Design Demo I go over: creating a marker out of any picture, how to use occlusion effectively and a demonstration of animation using Workflow.
Markerless Augmented Reality:
This function, Markerless Configuration, can be found under the Tools section. The name implies that you don’t use a marker, but in this case, you can apply your own self-created markers or use other visual images to orient the program to. A normal papervision marker in the software requires 100% of the picture to be viewed at all times, while these markerless creations only need 20%. This makes them a lot easier to work with. The regular markers are for industrial purposes so the extremely unforgiving camera pickup is needed.
To make this work, your markerless image must be a digital picture. I created mine in Excel then copied it into Paint to create my DigitalSea.bmp. Make your own marker then follow these steps to complete setting up the markerless image:
1. Click on Create Patch
2. Load in your picture
3. Click on Create Region
4. Define the area the program will check against
5. Close the Region (click the x in the corner)
6. Add the height and width (must be smaller than your picture, I used about 80% of actual)
7. Close the Patch
8. Add a COS and hit enter on the name
9. Add patch and hit enter (you can customize if you want)
10. Save the file
That’s all it takes to create your own markerless image. As I said in the video, you can use any picture to orient from, including a picture of your room or any everyday object.
Occlusion
Using occlusion is relatively simple. The hardest part, which isn’t that hard, is adjusting the size and location correctly to make the illusion work. Follow these steps to make a simple occlusion:
1. Set up your camera and COS (using your markerless if you want)
2. Add an object that has the same geometry as the real object you want to occlude.
3. Place overtop and resize until they are the same location and shape.
4. Under ‘General’ tab, change the view to Occlusion.
This creates an object overtop your real object giving it the illusion of space within the program. Now digital objects can interact with the real ones and give the illusion of reality.
Animation in Workflow
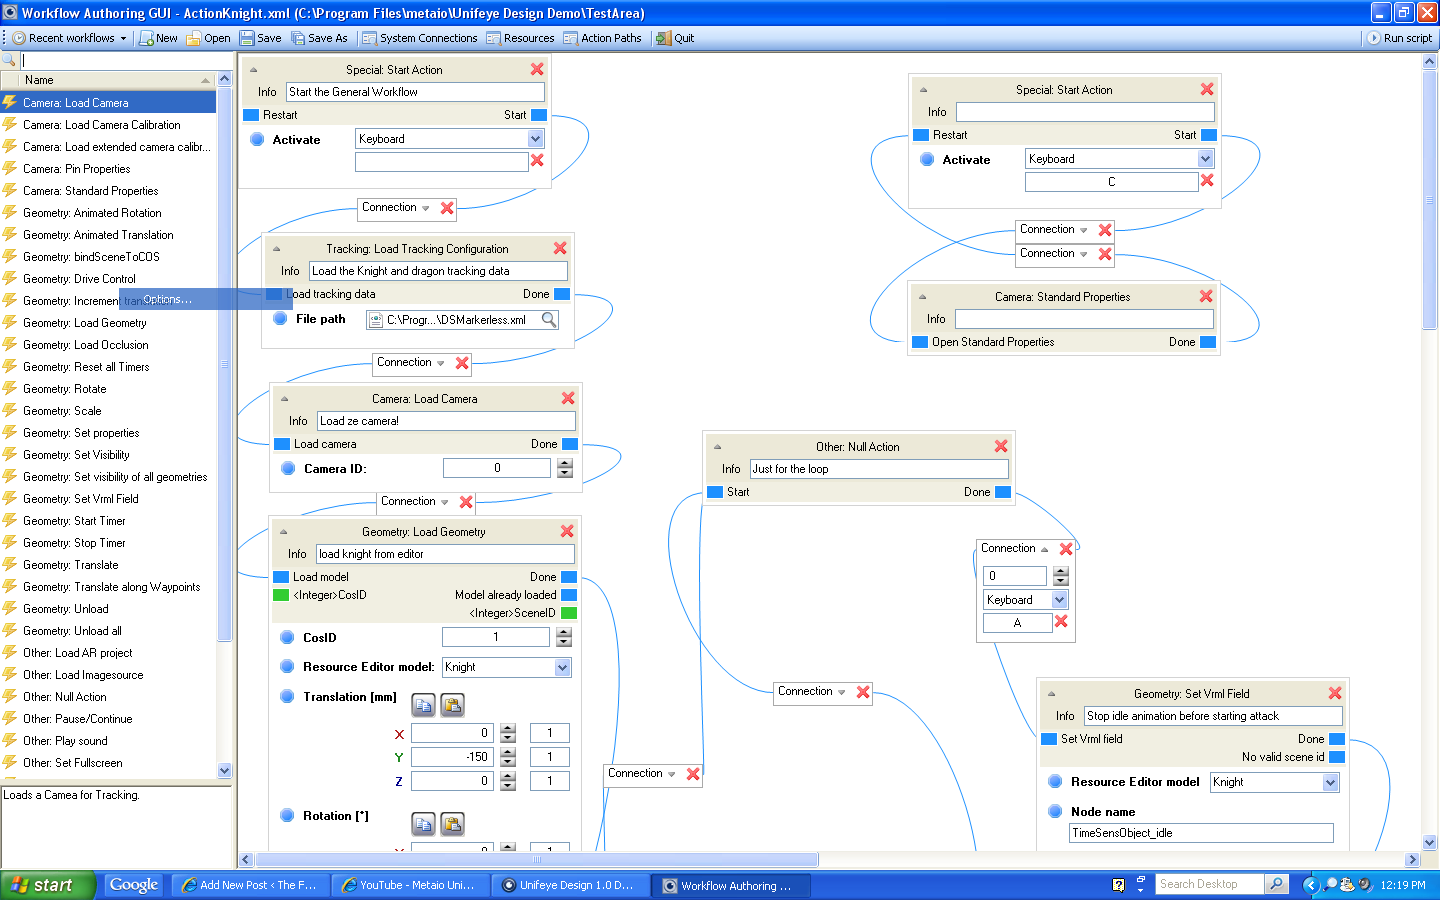
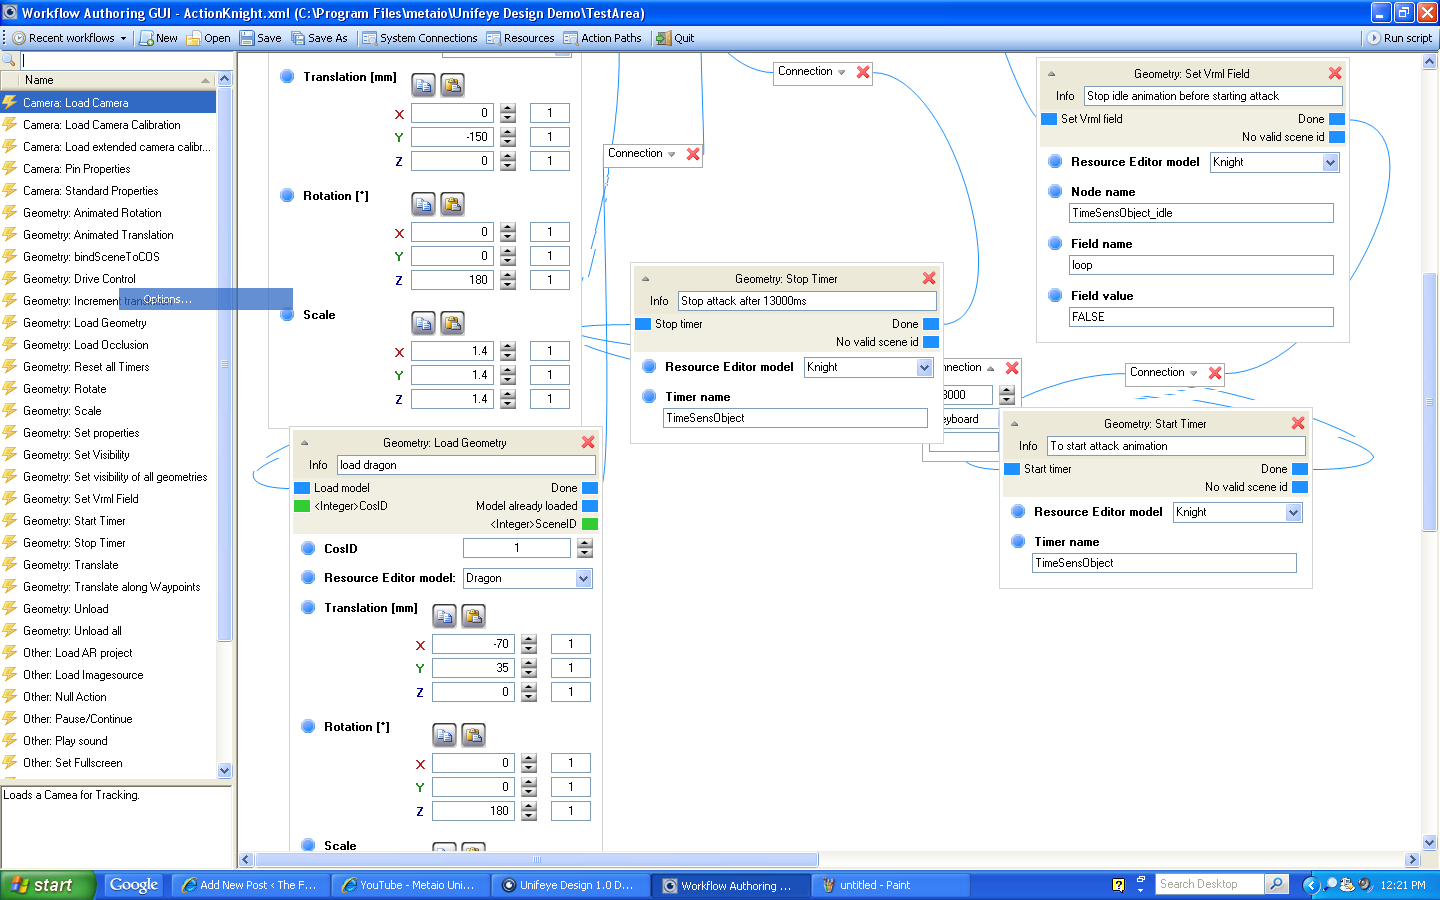
This technique requires a bit more work, so I’m going to show you the actual workflow. Copy the program and you can get your own knight to attack the dragon. Special thanks to Matthias from Metaio for teaching me how to do the animation.


These aspects of the software really begin to show the possibilities of the program within skilled hands. Admittedly, I’m quite the novice when it comes to augmented reality programming, but I was able to accomplish some amazing things in a short amount of time.
Overall, my respect for the software grew with each use. I could intuitively fumble my way through most of the software without any documentation and make it work. The more advanced stuff definitely required documentation, which Matthias was able to supply. I’m not sure what a more advanced AR programmer would think of the software, but as the technology gains more interest, I think it will be a huge boon for novices wanting to quickly get into the game.

Hey Tom,
briliant. You are becoming an Unifeye Evangelist – and expert obviously. Thanks for the feedback and coverage…
best regards,
jan
Oh nice, thanks for taking the time for this.
[…] been a while, since Thomas played around with our 1.0 version of Unifeye Design and there are many improvements in all sections of the software. It makes use of the improved and […]